Making a Paper Tole Greetings Card
Everyone loves receiving a handmade card, yet a lot of people think it is a very hard thing to do. We would like to show you just how easy it is to make a very effective card using a paper tole sheet and a few other things.
Many paper tole sheets are just three or four layers to assemble, for our example we have used a more complex sheet. You will soon see that fewer layers makes it quicker to do, although don’t be afraid at using a sheet with more layers.
First of all, we took this sheet which currently is just $1.10 with two different designs on it. 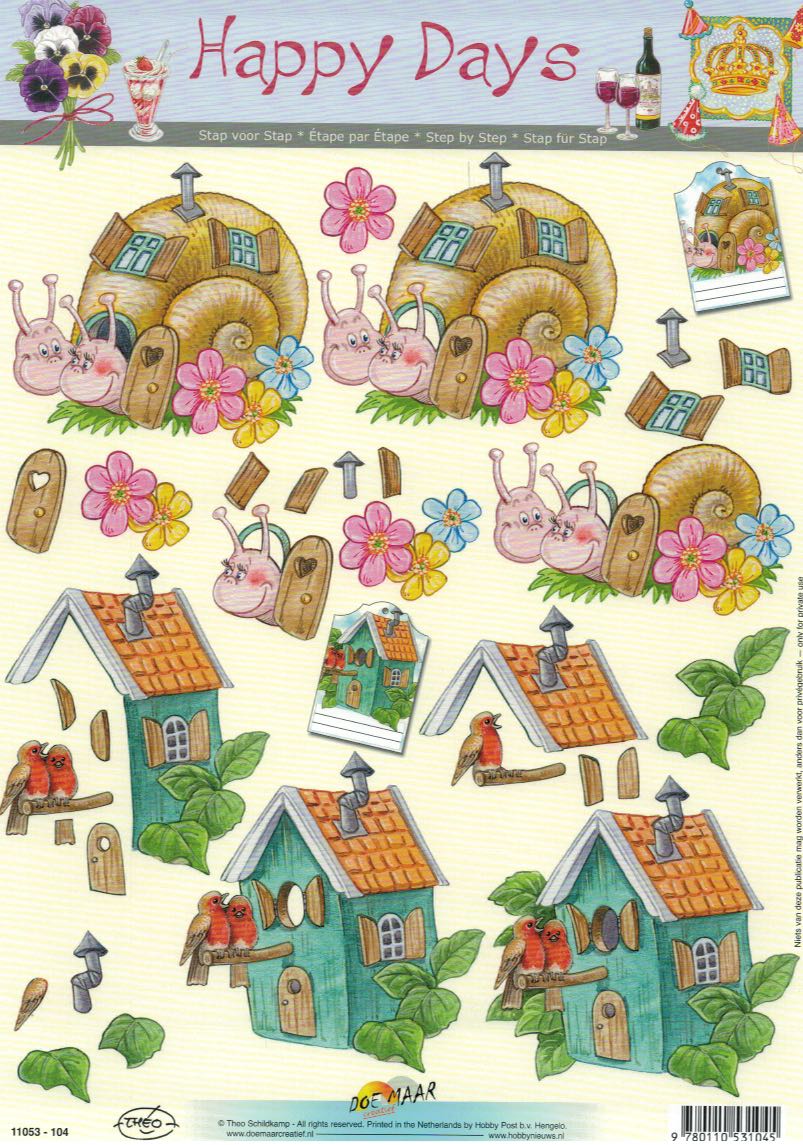
With a small sharp pair of scissors, we cut out the bird house design and all of the extra little parts.
After cutting them out, we took a blank coloured card and layered a piece of patterned paper onto the front leaving a small margin around the edge. On to that, we attached a die cut shape which had been inked to match the coloured card. Next, take the largest bird house shape that you have cut out , the one with all the detail. In this case, you can see it has more leaves on the left of it. Stick that down into the position you want it in. After that take the next largest cut out, in this case the whole bird house and attach double sided foam pads to the reverse. This will slightly lift that layer up off the first one you put on the card.

The above picture shows the first layer in place and the next layer from the back side showing the foam pads that will stick to the first layer. As you see, there are quite a few pads on it, this is to keep it firm and level once attached. If it isn't well supported your layers will bow instead of being kept flat and level. At this point I will also point out that some paper tole fans like to use silicone from a tube instead of pads. You can put drops of it onto each layer and then press it down to the desired gap between each layer. Both techniques are fine but if you are in a hurry the pads don't have to dry before adding more pressure on them.
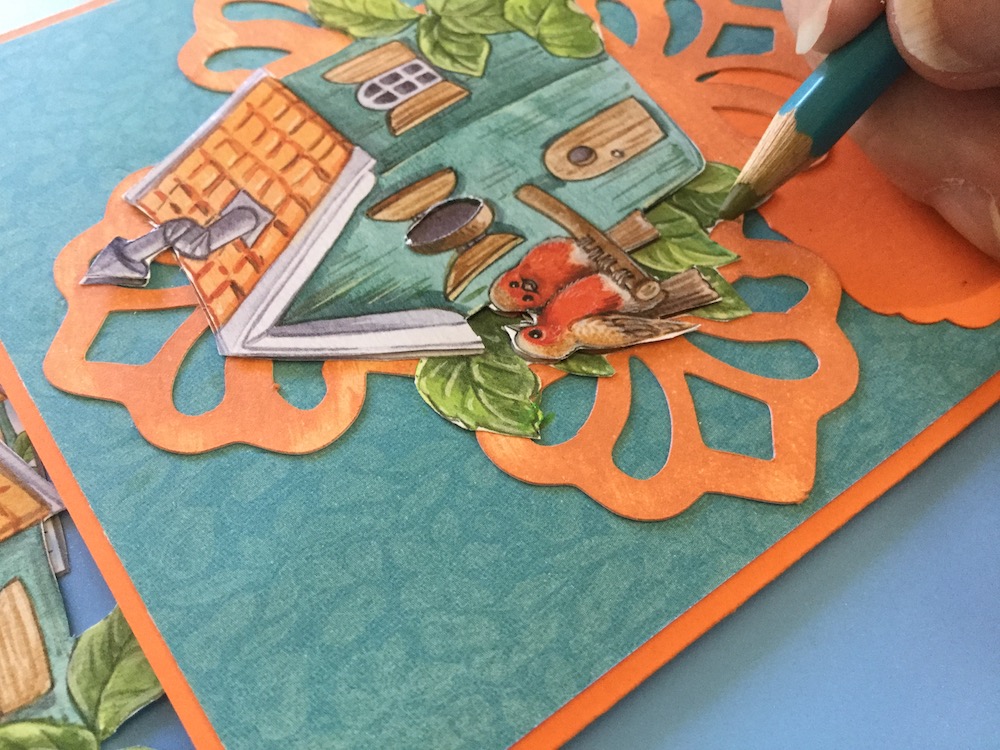
This sheet being a "cut it out yourself" sheet means you may leave a little of the white edge when you are cutting it out. If you find that the edge shows a little extra white, you can easily colour it in with your coloured pencils or similar. We did a little bit of a leaf in our example.
From there, just keep adding the layers making sure that if there is a difference in size that the larger ones go on first. Once you have it all done it will look like this.
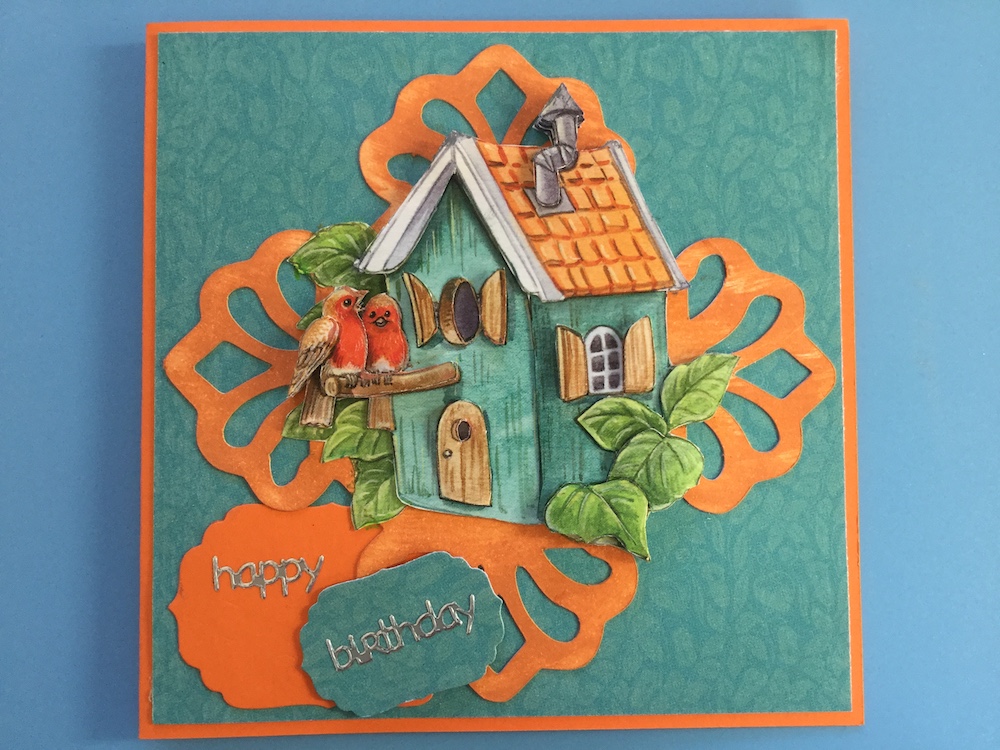
A photograph straight down onto the card doesn't show the layers very well, the next pictures so it close up from the sides.
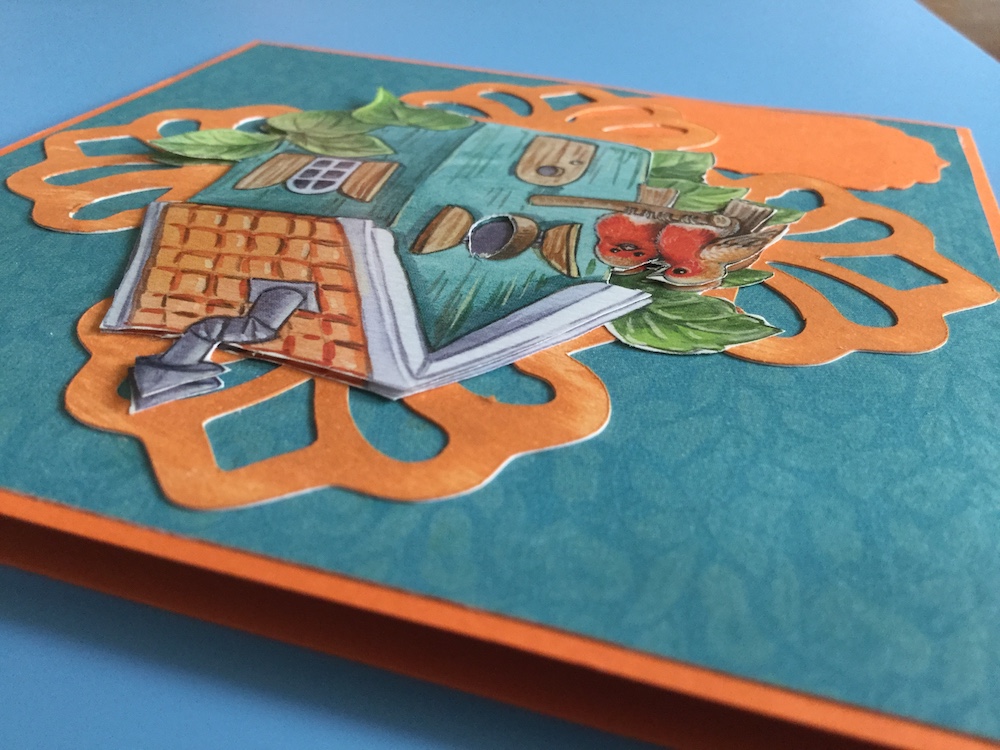
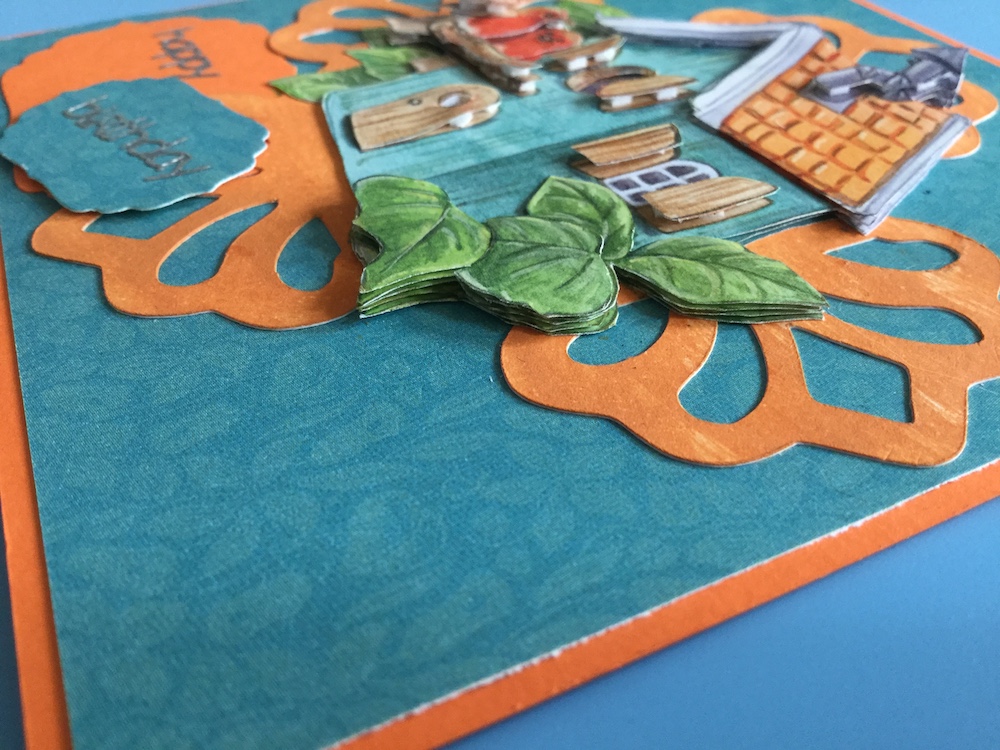
The 3D layered effect makes a very good looking card and at the same time has that personal handmade touch everyone will appreciate. Add a sticker, rubber stamp or rub on greeting and a few tags and your card is complete and ready to send.
If you are not be very good at cutting out the designs, then you can use Die Cut paper Tole Sheets. These sheets have all the parts die cut so you just have to push them out of the sheet with your fingers. It takes just a few seconds and you are all ready to get started. We also sell the Hearty Craft card topper packs which take it to the next step. In each of their packs there are 10 different designs and they are all packed into separate bags. Just open a back and tip them out. You can't get any quicker than that. See the Hearty Craft ones in our video here.
Helpful links to products on our website:
